How to Build a No-Dig Raised Bed in a Small Garden
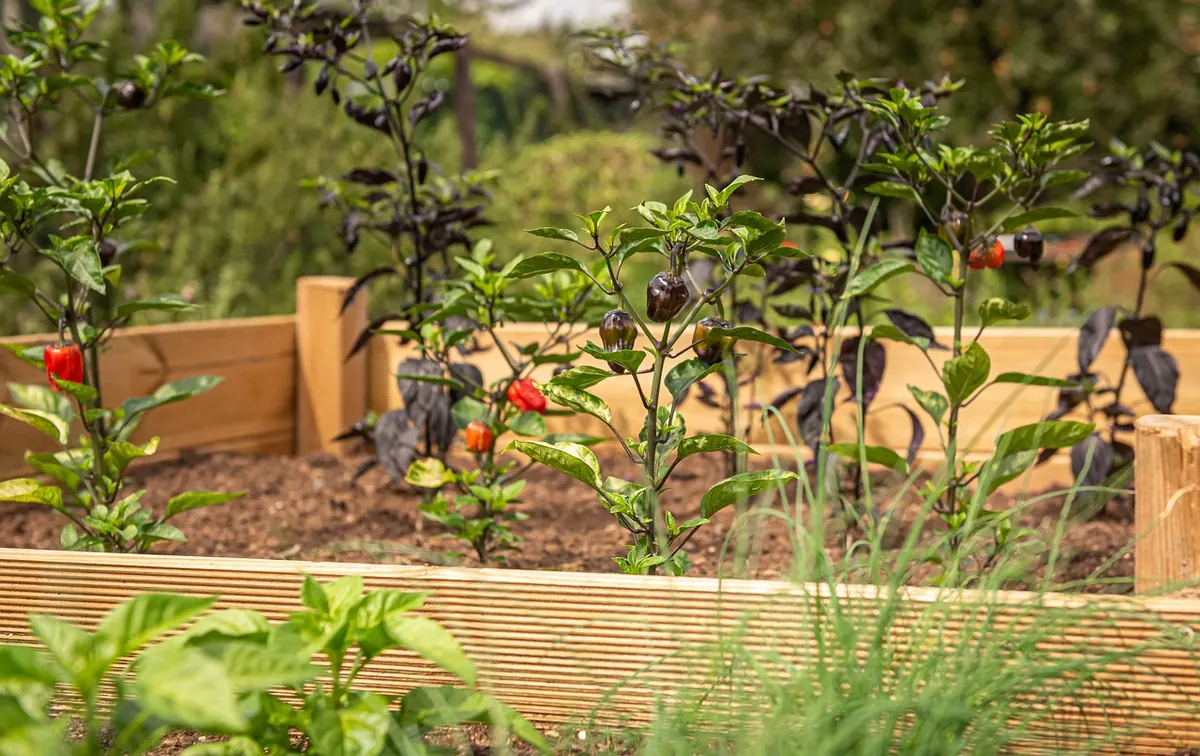
A raised bed does not have to mean stripped turf, a smouldering bonfire of grass sods and a lost weekend with a spade. On a small plot, no-dig is quicker, kinder to your back and better for the soil underneath — and it works just as well over tired lawn as it does over an existing vegetable patch.
The principle is simple: smother whatever is growing, sit a frame on top, fill it with compost and let the worms do the rest. Here is how to build one properly, sized for a garden where every square metre has to earn its place.
Why no-dig suits a compact garden
Digging turns the soil upside down and destroys the structure that took years to build. Fungal threads are broken, worm tunnels collapse and dormant weed seeds are dragged into the light, where they promptly germinate. Leave the soil alone and you keep all of that intact.
There is a practical advantage too. A no-dig bed over lawn needs no turf removal, no double digging and no barrow-loads of spoil to dispose of. The grass and its roots die under a light-excluding layer, then rot down and feed the soil from below. On a small plot, where you might not have space for a compost heap the size of a car, that is a real saving.
Choose the spot and settle on a size
Most vegetables want six hours of sun or more; salad leaves, chard and herbs will manage with a little less. Avoid the strip of dry shade along a hedge or fence, where roots will steal both moisture and nutrients, and steer clear of the lowest point in the garden if it puddles in winter.
Width matters more than length. Keep the bed to about 1.2m wide so you can reach the middle from either side without treading on it. If it will sit against a wall or fence, make it 60cm — you only have access from one side. A bed of 2.4m by 1.2m is a generous but manageable starting point; two beds of 1.2m square suit tighter plots.
What you will need
- Timber — four boards per bed, about 25cm deep, in lengths to suit your plan. Modern pressure-treated timber is widely used for vegetable beds; untreated larch or oak is a purist's choice but will rot sooner, and recycled plastic boards outlast both.
- Corner posts — 5cm x 5cm stakes, roughly 40cm long, one per corner, plus galvanised screws.
- Cardboard — plain brown, all tape and staples removed. Ask at a bike shop or supermarket if you run short.
- Growing material — a 2.4m x 1.2m bed filled to 25cm needs around 0.7 cubic metres. A mix of garden compost, well-rotted manure and bought peat-free compost works well.
- Woodchip for the paths, a spirit level, gloves and a watering can.
Build the frame
- Cut back anything tall or woody, and strim long grass. Do not dig, and do not bother removing the turf.
- Set the corner posts in position and check them for level. If the ground slopes, either follow the slope or sink the higher posts a little deeper — a bed that rocks will work loose.
- Screw the boards to the posts on the inside, so the fixings are hidden, with the top edge flush across all four sides.
- Check the frame is square by measuring the two diagonals; they should match. Adjust before you tighten everything up.
- Line the inner faces with a strip of cardboard if there are gaps between boards, so the compost does not trickle out.
Smother the ground and fill
Lay cardboard over the whole base, overlapping the sheets by at least 15cm and extending a little under the frame edges. No gaps: a single chink of light and the grass will find it. Soak the cardboard thoroughly — dry card wicks moisture out of the compost above it.
Now fill. A rough bottom layer of partly rotted garden waste or spent mushroom compost saves money, but the bulk of the bed should be good compost or well-rotted manure. Do not fill it with subsoil or cheap topsoil from a skip; you will spend the next three seasons fighting it. Finish with 5cm of finer multipurpose compost for sowing into.
Water the whole bed, let it settle for a few days if you can, then plant straight away. There is no need to wait for the grass below to break down — roots will push through the cardboard within weeks and find the soil beneath.
Planting and the first season
Treat the top layer as you would any bed. Sow salads, radish and herbs directly; plant out chard, kale, beans, courgettes and tomatoes once the risk of frost has passed. Space plants a little closer than a field grower would, but not so tightly that air cannot move between leaves — crowded plants invite mildew and slugs.
Lay woodchip or bark paths around the bed, 30cm wide, and keep them topped up. They keep grass from creeping back in, give you somewhere dry to stand and rot down slowly into the soil at the edges. Never walk on the bed itself; if you must reach in, use a plank to spread your weight.
Keeping it productive year after year
Each autumn or early spring, spread 2–5cm of compost over the surface and let the worms pull it down. That is the whole fertility programme — no digging, no forking, no rotavating. Pull annual weeds while they are small, with a hand fork or just your fingers, and leave the roots of anything you cannot shift; they will weaken under the mulch.
After two or three years you will notice the soil beneath the frame is darker, crumbly and full of worms, even though you never touched it. That is the quiet reward of no-dig: a bed that gets better while you do less. Start with one, see how it grows, and add a second when you find yourself wondering where to put the next lot of seedlings.
Photo: AndreasGoellner / Pixabay