Five Common Mistakes When Planting Bare-Root Shrubs in Autumn
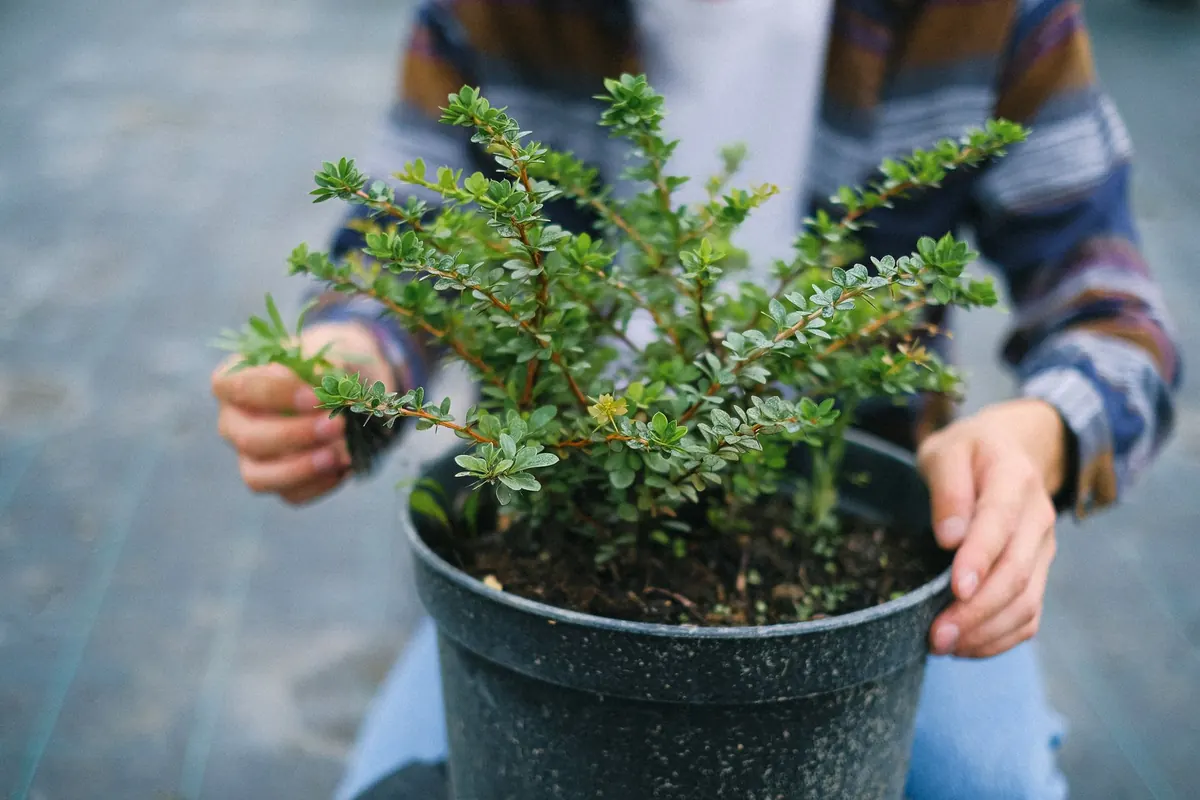
Bare-root shrubs and hedging plants are one of the best-value buys in the garden. Lifted from the nursery field while dormant and sold without compost or pot, they cost a fraction of container-grown stock and often establish faster, because their roots grow straight out into the surrounding soil instead of circling a pot. The catch is timing and technique. In winter a bare-root plant has no compost cushion to fall back on, and the mistakes made in the first hour after it arrives are the ones that show up in April as dead twigs.
Mistake One: Letting the Roots Dry Out
The roots of a bare-root shrub are fine, fibrous and thin-skinned. They have no compost around them and no protection from wind, and an hour on a sunny bench can shrivel them beyond recovery. If you cannot plant the same day, deal with them immediately: either keep them in the bag in a cool, frost-free shed, or heel them in.
Heeling in takes ten minutes. Choose a spare patch of ground, dig a shallow V-shaped trench, lay the plants in at an angle with the roots spread along it, then cover the roots with soil and firm gently. They will sit happily like that for several weeks until you are ready. If you prefer to hold them in a bucket, use damp compost or leafmould and keep it just moist — not sitting in water. A couple of hours in a bucket before planting is useful; a fortnight is not. Waterlogged roots rot just as surely as dry ones. While you are at it, trim any roots that are broken or badly kinked with clean secateurs.
Mistake Two: Planting at the Wrong Depth
This is the error that quietly kills more bare-root hedging than anything else, and it is easy to make because bare-root plants sink as the soil settles.
Find the old soil mark
Look at the base of the stem. There will be a darker band where the nursery soil sat against the bark. That mark is your guide: it should finish level with the surrounding soil surface when you have finished firming. Not an inch below, not an inch above.
Why deep planting does damage
Bury the root crown and the bark stays permanently damp, often rotting over winter before the plant has grown a single new root. Plant too shallowly and the upper roots dry out and the plant rocks in the wind. Both look similar in February and produce the same result by May.
Dig the hole wider than you think is necessary — roughly twice the spread of the roots. Long roots should be laid out horizontally in their own space, not bunched up or bent round the sides of the hole. Fork a handful or two of garden compost into the bottom and mix it with the excavated soil, but skip fertiliser in the planting hole; fresh nutrients can scorch new roots.
Mistake Three: Planting Into Cold, Waterlogged Ground
Bare-root planting season runs from late autumn to early spring, which is precisely when British soil is at its wettest. Roots need air as well as water, and a plant sitting in a sump of standing water will suffocate. If the hole fills with water and it is still there the next morning, plant somewhere else, improve the drainage with grit and organic matter, or plant on a slight mound so the crown sits above the water table.
If in doubt, dig the hole a week before planting and see how it drains. It is far easier to change your plan now than to replace a hedge next autumn.
Also think about what grew there before. A spot where a large shrub or tree has just been removed can leave soil that is poor and sometimes unwelcoming to the same species. Use fresh soil from elsewhere in the garden for the planting hole, and match the plant to the site: yew, hornbeam and dogwood cope with heavier, damper ground, while beech, hawthorn and lavender want free drainage and sun.
Mistake Four: Not Firming In, Then Not Watering
Air pockets around roots are as damaging as drought. Work through this sequence methodically:
- Build a cone of soil in the bottom of the hole and spread the roots over it.
- Backfill in layers, firming each layer with your heel around the roots — never stamp directly on the stem or the crown.
- Check the soil mark again. If the plant has sunk, lift and start once more.
- Water thoroughly, even if rain is forecast. Two full watering cans per shrub settles the soil around the roots properly.
- Top up the soil if it settles and the crown drops below the surface.
Firm does not mean compacted. The soil should hold the plant so it cannot be pulled out with a gentle tug, but still let water drain through.
Mistake Five: Walking Away Until Spring
Winter is not a quiet season for a newly planted shrub. Mulch around it with five to seven centimetres of well-rotted bark or compost, keeping the material clear of the stem — a mulch collar touching the bark invites rot. Weeds left in place will compete for water and nutrients long before you notice them.
After a hard frost, check for frost heave: seedlings and small shrubs can be lifted clean out of the ground. Press them back gently with your boot. On exposed sites, wind rock loosens roots, so stake larger plants for their first season or two with a short stake and a soft tie, and remember to remove or loosen the tie before it cuts into the stem. Fit spiral guards against rabbits and deer if you have them, and resist the urge to feed or hard-prune in the first year; the plant needs to build roots before top growth.
A Quick Check Before You Finish
Plant within two days of delivery if you can, or heel in properly. Set the old soil mark level with the ground. Choose a spot that drains. Firm in layers, water well and mulch.
- Depth: old soil mark level with the surface
- Water: a thorough soak at planting and weekly in the first dry spring
- Space: roots laid out, not crammed or bent
- Protection: mulch, ties checked, guards fitted
Get those four things right and bare-root planting is the cheapest, quickest way to a hedge or shrub border. Check your plants once a month through winter, press back anything the frost has lifted, and by the time the buds break you will know the work was worth it.
Photo: Anna Shvets / Pexels